We always work as a tangible team to ensure that we can provide you with the best quality and the best price for Splitter,Hdmi Splitter,Video Splitter,Hdmi Splitter 4k,Hdmi Splitter 1 In 2 Out.We sincerely welcome friends from all over the world to cooperate with us on the basis of long-term mutual benefits. The product will supply to all over the world, such asSwedish ,Iran ,Cape Town ,Hyderabad ,Thailand ,We take measure at any expense to achieve essentially the most up-to-date equipment and approaches. The packing of nominated brand is our a further distinguishing feature. The items to assure years of trouble-free service has attracted a great deal customers. The solutions are obtainable in improved designs and richer assortment, they're created scientifically of purely raw supplies. It readily available in a variety of designs and specifications for your selection. The most recent kinds are a great deal better than the preceding one particular and they are quite popular with lots of prospects.
Latest report research
The 2020 research report is full of precise analysis from radical research, especially for queries close to market size, trends, shares, forecasts, prospects, output and future development trends, as well as current and future market conditions. The HDMI Splitter market report focuses on the world's major industry leaders, and provides information including company profiles, product pictures and specifications, sales revenue, prices, gross margins, and analysis of industry development trends.
The business intelligence report on the HDMI splitter market comprehensively introduces the vertical development of the industry by explaining the main development trends, limitations, constraints and opportunities that will affect the market dynamics in the next few years. Furthermore, the report focuses on the main regional markets and recognizes the main areas for further development of the industry, and then analyzes in detail the main players in this business area. In addition, it clarifies the impact of the Covid-19 pandemic on revenue generation and highlights the business strategies adopted by leading companies to adapt to market uncertainty.
1 Overview of the HDMI splitter market industry
Analysis of two major manufacturers in the HDMI splitter industry
3Analysis of the global HDMI splitter market by region, manufacturer, type and end user
4 North American HDMI splitter market analysis by country, type and end user
5 European HDMI splitter market analysis by country, type and end user
6 Asia-Pacific HDMI Splitter Market Analysis by Country, Type and End User
Analysis of 7 Latin American HDMI Splitter Markets by Country, Type and End User
8 Middle East and Africa HDMI splitter market analysis, by country, type and end user
9 Analysis of marketing channels, distributors and traders
10 global HDMI splitter market forecast by region, country, manufacturer, type and end user
11 Industry Chain Analysis of HDMI Distributor Market
12 Feasibility analysis of new project investment in HDMI distributor market
13 HDMI splitter market research results and conclusions
Market Research Report Co., Ltd. It is the center of market intelligence products and services.
By concentrating all major publishers and their services in one place, we simplify your market research reports and service purchases through an integrated platform.
Our customer partners...
"Power Semiconductor Switching Devices Market Research" analyzes and puts forward detailed research ideas about the market scale of power semiconductor switching devices in ancient and recent times. With the estimated future possibilities of the market and the electronic market.
The research and analysis of the multi-mode blue laser diode market provide detailed research ideas on the scale of the ancient and recent multi-mode blue laser diode market. With the estimation of the future possibilities of the market and the emerging trends...
The report on the wrist dive computer market provides a comprehensive assessment of this area. The assessment includes the dual perspectives of consumption and production. Regarding production factors, the wrist dive computer marks...
By 2025, the latest update of the hot dog machine market analysis report will conduct extensive market research, hot dog machine market growth analysis and forecast. The report is highly predictive because it can conduct a comprehensive analysis of the global hot dog machine market.
A recent report on the pet wearable device market provides a comprehensive analysis of the industry scenario for a series of key parameters. According to research, by the end of the analysis period, the market will accumulate huge profits...
1887 WHITNEY MESA DR#4112
Henderson, Nevada 89014
©2021
. all rights reserved.
Freelance writer,
Today's best technology deal
Selected by TechHive editors
Special offer for quality products
Selected by Techconnect editors
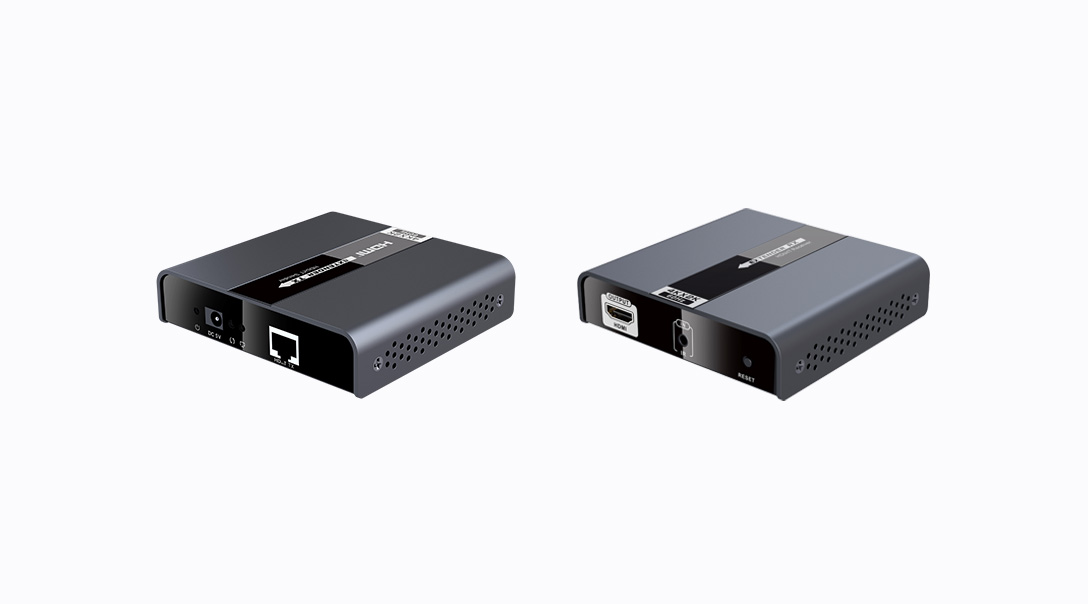
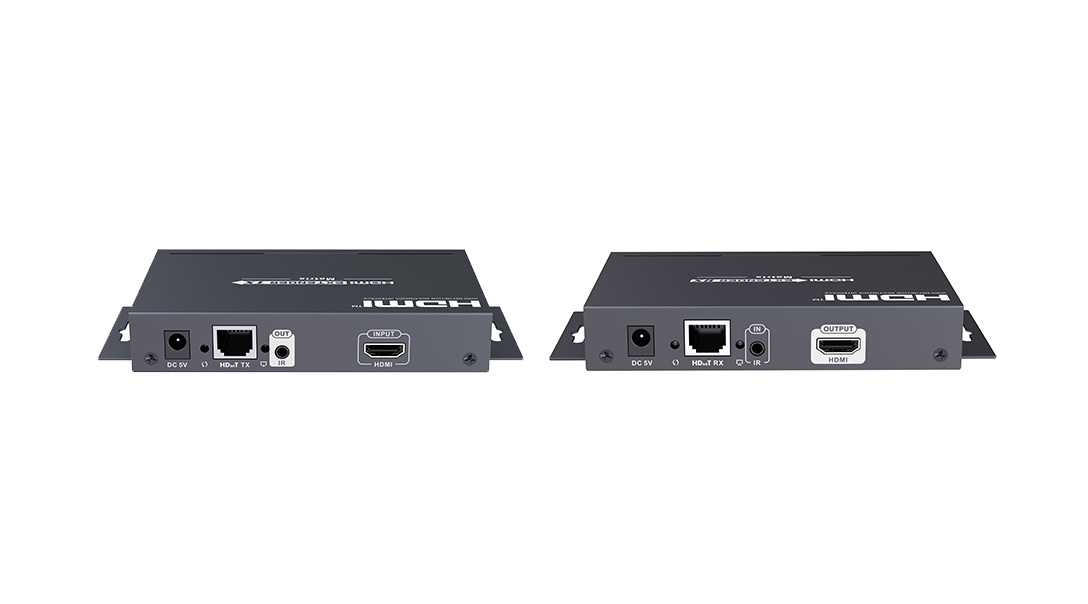
A soundbar with one or several HDMI inputs replaces an A/V receiver with six or more HDMI inputs, which could have simplified our home entertainment system, but many of us find that we have too many video sources- Set-top boxes, streaming media, game consoles, Blu-ray players, etc., and there is not enough HDMI input to handle all content. solution? HDMI switcher and audio extractor. We recently discovered a device sold under two brands: J-Tech Digital and Monoprice.
Obviously, neither J-Tech nor Monoprice
These devices, but buy them from other manufacturers because they are the same except for the label. We conducted a comprehensive test on J-Tech Digital JTECH-SWE41 and Monoprice Blackbird 4K 4x1 HDMI switch (P/N 39666) and found that they all have the stable performance of 4 HDMI inputs and 1 HDMI output. We list J-Tech as the title because at the time of writing, it sells for $25 less than Monoprice’s device.
. Since they are essentially the same device, they will be mentioned in the singular in this article.
When comparing the metal-clad Monoprice Blackbird 4K and J-Tech Digital switch boxes, their common lineage is obvious.
With complex processing skills and ARC (audio return channel) support, this switch box can help you consolidate gears, cable lines and connections. Although ultra-thin, measuring 7.1 x 3.3 x 0.5 inches (WxDxH), the power switch has a front panel display that provides precise control buttons and a less bright green LED indicator. The HDMI input on the back allows you to connect up to four 4K or 2K video source devices.
Then, the signal source selected using the front button will be output to the single HDMI-ARC output of the switcher, and output to one of the HDMI inputs of the TV, sound bar or A/V receiver, while the image or sound quality used will not be obvious decline.
establish connection.
This powerful mite provides the current top specifications, can process and push clear and sharp signals up to 4K resolution at a 60Hz refresh rate (so, it may not be the best choice).
, It supports up to 120Hz refresh rate. It also does not support FreeSync or G-Sync. Otherwise, the switch will comply with the HDMI 2.0a standard and HDCP 2.2 digital copy protection standard, which are necessary to enhance 4K images through high dynamic range processing such as HDR10 and Dolby Vision. When I plug in the power, these effects are very impressive. Amazed
The media stream is transmitted to switch input 4. I realized one of the most realistic aquariums on my 4K LG OLED, which is a screen saver. Only when the Dolby Vision logo floats quickly in the corner, can it release its true nature.
The front label of Blackbird's LED and hard button functions make it more useful when operating the device from the front. (J-Tech applied its label on the top.)
In terms of audio, high-quality audio tracks encoded with 2.1-channel, 5.1-channel and 7.1-channel PCM, Dolby TrueHD, Dolby Atmos and DTS-HD Master Audio are delivered to the HDMI output of the switch box unimpeded like J. hole. The digital technology engineer responsible for quality control testified at the brand's headquarters in Sugarland, Texas.
But wait, there is more. The addition of an audio signal extractor makes this difficult box even more useful-it is also essential for TV viewers who pair it with a high-quality (but short input) display and soundbar.
This is how it is combined. Connect the four most important devices to the switch: set-top box, media streamer, game console (or laptop) and Blu-ray player. Next, connect the HDMI output of the switch to the HDMI input of the TV (the one labeled HDMI ARC) (if available). Alternatively, you can plug the cable into the HDMI port on the soundbar or A/V receiver, which will amplify the audio content and send it to the speakers, and pass the video signal to the TV.
Similarly, the location of the input tag makes it easier for you to use Monoprice's HDMI switcher version when facing the device, and J-Tech's approach is better if you watch from above.
If your soundbar or receiver does not support HDMI, you can take advantage of the high-quality audio extraction circuit of this switcher. Insert a 3.5 mm terminated analog audio cable or optical digital (Toslink) cable into the dual-function audio output of the box, and then connect the other end of the cable to the corresponding input on the sound bar or receiver.
Yes, you will degrade in stereo or surround sound processing because the analog connection is only stereo and Toslink cannot provide the bandwidth required by Dolby TrueHD and other lossless home theater codecs. However, when I used the Toslink connection with Sonos Playbar and Bose Soundbar 500 (both paired with their respective wireless subwoofers), the sound produced proved to be very powerful, delicate and reasonably synchronized.
For me, the function of completing the transaction on this particular switch box is its smarter infrared remote control setting, which eliminates the annoyance of users and increases flexibility when integrating it into an entertainment center.
The remote control is specially made and easy to use even in the dark.
Any value-for-money HDMI switcher will enhance its front panel operation buttons through a wireless remote control, and install an IR signal receiver on its front. I have tried seven or eight other switchers, but their wireless control is often unreliable. You must sit directly in front of the distribution box, and the distribution box itself cannot be blocked by doors or any other equipment. Most of their remote controllers have weak signal transmitters, and their infrared receivers usually have a narrow field of view-no more than 30 degrees off the axis, and they are expected to work properly.
I have no such complaints about this box. Instead of placing the IR signal receiver on the front panel, it is better to tie it to a 5-foot cable that plugs into the back. You can place the box wherever you want, and use a little double-sided tape (included) to install the receiver in any exposed location that the cable can reach. If the included cable is not long enough, you can plug it into the extension. I found a
The price is about $9. It may add a one-millisecond delay to the input switching process of 3 to 5 seconds. The cable lengths provided by the manufacturer are 6 feet, 25 feet, 50 feet or even 75 feet, but I did not test them.
Both J-Tech Digital and Monoprice bundle the same simple but easy-to-use remote control with the box. The HDMI input button is located at the four corners of the square, and the selection button is located at the center. This makes the remote control easy to use even in the dark. Press the red ARC button at the top right of the remote control, and the audio content from the smart TV's tuner, onboard media streamer or any other HDMI source will be sent down from the HDMI cable plugged into its HDMI ARC port back to the switch box. From there the sound reaches your soundbar or A/V receiver. It's almost like there is a fifth HDMI input on the switch.
The infrared signal receiver can be placed up to 5 feet away from the distribution box, or even further when the extension cable is inserted.
Setting tips: If you have never used the ARC function of the TV, you may leave the factory in a disabled state. Go to the audio settings of the TV and activate it. When you are there, try to activate its CEC (Consumer Electronics Control) function, which can
Then let you use a remote control to control all devices connected to and passing through the switch box.
According to Monoprice technical support, if you want to get more control, please use the RS-232 port of this switch box for custom integrated operation and compatibility with the programmable Harmony remote control "available now or coming soon".
But I don't have much confidence in the automatic input shifting of this device (most HDMI switches tout a feature) because I find it unreliable. In theory, whenever you turn on the power of another connected device, the switch box will sense and automatically change the HDMI source. Gamers say that when they shift their attention from one connected console (or computer) to another console (or computer), it works well, but when I turn on the DirecTV satellite TV receiver or Blu-ray player, It cannot wake up and respond, possibly because the switcher also received conflicting messages from the connected streaming media box. Even in standby mode, the latter always
, Download the content and publish a screen saver image.
To be honest, the HDMI switch box moved south in a few months or years, partially or completely failed, so it has a good reputation. The cottage industry of the Chinese supplier has solved these problems with good intentions, but has insufficient experience. Evolving standards and manufacturers will take different approaches when implementing them, making their job more difficult. I put it there because I cannot guarantee how long the current selection of the best HDMI switch box will last, nor can it guarantee that it will work with all the video products you may want to connect.
Having said that, I have successfully combined J-Tech and Monoprice devices with older Panasonic and Pioneer plasma TVs, the old but most popular Philips LCD TV with Ambilight function (look it up), and the very good 4K Epson Home Cinema 4000 is paired. Video projector. I also tried various streaming media boxes (Amazon Fire TV, Apple TV, Roku), disc players, DirecTV and two video game systems (PlayStation 4 and Nintendo Switch, the latter is present on other switches I have used Problems tried). Finally, I tried to test them with Yamaha, Sony and Bose audio systems that support 4K.
Your settings and experience may still vary. Marathon gamers may heat these things to the edge and should connect their systems directly to the monitor. Also, don’t forget to use a certified premium high-speed HDMI cable
, Because the functions and stability of these switches only depend on their weakest links. If you encounter purple images again and again, you can solve the HDMI secure handshake that caused this problem by simply moving the input again.
On the bright side, I have a different
For a year and a half, its operation is impeccable, so I have full confidence in the brand. For its part, Monoprice usually chooses its suppliers wisely and has a good reputation for quality control. Both brands have operations in the United States, including technical support, and both companies provide at least one year's warranty for these devices-if you register for purchase immediately, it will be 18 months from J-Tech's warranty.
You can call it J-Tech Digital or Monoprice Blackbird... Regardless of the name used, this is an excellent four-input/single-output HDMI switcher for entertainment centers.
TechHive can help you find the best technical option. We guide you to find products you like and show you how to make the most of them.
Visit other IDG websites:
Product reviews, transactions and latest technology news
.
. Evil problem solver. Total number of writers.
. Enthusiastic player. Twitter's buff.
Bestgamingpro is made by
Necessary cookies are absolutely essential for the normal operation of the website. This category only contains cookies that ensure the basic functions and security features of the website. These cookies do not store any personal information.
Any cookies that are not particularly necessary for the normal operation of the website. These cookies are specifically used to collect user personal data through analysis, advertising and other embedded content, and are called unnecessary cookies. You must obtain user consent before running these cookies on your website.
after
Control the PC remotely, even if it cannot boot into the OS.
If you need remote access to your PC, you can try VPN or other applications, such as TeamViewer. However, this software can only run in the OS of the remote computer, which means it cannot access the BIOS, reboot, install the operating system, or power on the computer. There are a variety of solutions that allow you to perform remote control independent of the PC operating system, but using an IP-based KVM is one of the most convenient and economical methods.
Although a store KVM purchased on an IP device may cost hundreds of dollars, using
Create your own. A developer named Maxim Devaev designed his own system called
, He plans to sell the kit for $130. However, if you have the right parts, you can use the software he developed and your Pi, and it costs less to combine them.
Below, we will show you how to build your own Raspberry Pi-based IP KVM, the KVM can output full HD video, control GPIO ports and USB relays, use the ATX function to configure the server power supply, etc. You will be able to control the entire settings through a web browser, through another device on the Internet, through a web browser
Or on your local network.
The software required for the Raspberry Pi is all included in a custom disk image, which you must download and burn to a microSD card. This is the way to use Raspberry Pi Imager, but you can also use other burning software, such as balenaEtcher.
1.
. The first thing we need to do is to download
From pikvm.org. Please note that there are different versions depending on the Pi you are using and whether you are using an HDMI to CSI bridge or HDMI to USB capture dongle. The image file is in BZ2 format, so you need to unzip the file.
2.
Download from the BZ2 file you downloaded. If you use Windows, there will be no built-in BZ2 support, but you can use
go a head.
3.
. If it has not been installed, you can download from
.
4.
And find the Pi-KVM image.
Select the SD card by clicking on it. right now we
, Please make sure it is the correct one you choose.
5.
.
Now that we have completed the microSD card burning, we can continue to install the HDMI to CSI-2 bridge or USB to HDMI dongle, and prepare the OTG USB-c cable
From HDMI to CSI-2 bridge to Raspberry Pi's CSI camera port. Make sure that the blue mark faces the black clip. If you are using an HDMI to USB dongle, please connect it to the USB port on the Pi. If you are using
, You need a microUSB to USB Type-A hub.
2. Disable the 5V pin on one of the USB Type A male connectors on the distributor. The easiest way is to put a small piece of Kapton tape on the rightmost pin of the connector. You can also try to cut the cutter that caused the needle, but this is more complicated.
This will be the connector that connects to the USB port of the PC you want to control. If you do not disable the 5V pin, it will feed back power from the wall power supply to the PC, which may damage its USB port.
3. Connect the USB C-to-A cable to the Type-A female connector on the splitter. This will provide power to the Pi. Your cable should look like the picture below.
4. Connect the USB-C cable to the USB-C port of Raspberry Pi 4.
5. Connect the unmodified Type A male connector to the power source.
6.
Go to the PC you want to remotely control.
7
We created
At this point, we are ready to start using Pi-KVM. At the first startup, since the initial microSD card enlargement process will take longer than expected, please be patient and it will start.
. You can check it through the router's control panel to see which devices are logged in, or use a small method called ARP that I like to do.
To find Pi's IP using this method, start Windows PowerShell, run the command "arp -a", and you will see a list of devices on the local network. Any with
: Or
It's Raspberry Pi.
In the browser on the client computer (the browser used to control another PC). You will be redirected to the login page.
. The default user name is admin, and the password is also admin.
You should now see a screen like the one shown below, which allows you to access the remote PC and many other menus. . I have other options, you can go to
For more instructions.
Remember, the more storage space on the SD card, the more ISO images you can store and use for future PC settings.
You can also enable ATX control using appropriate GPIO hooks
To extend the functionality of PI-KVM to allow more display inputs, you can connect it to an HDMI 4-port switch with USB control.
Pi-KVM is always getting new features, so keeping the software up to date is very important. Fortunately, you don't need to refresh the microSD card. Update:
On the main menu of Pi-KVM. The CLI shell will appear.
By entering "su" and then "root" as the password.
Make the file system read/write.
4.
Get updates.
When finished, use "ro" in the command line to set the file system back to ReadOnly.
you can use it
Access Pi-KVM via the Internet. This is a convenient and free (for private use) tool for organizing small VPN networks.
Choosing the solo plan will be free for personal use
On the main menu of Pi-KVM.
5.
Install tailscale VPN service on PI-KVM.
Perform a soft restart on Pi-KVM
7
We will need to access the terminal again, so please follow steps 1-4
8.
Enable service
9.
Start the boot process
10.
Authorize this installation
11.
You will see "Success" appear on the terminal.
12
Check the IP address assigned by tailscale VPN.
This will show you how to install tailscale on the workstation side. Tailscale supports most operating systems, including Windows, mac and linux.
From
Given by the tailscale on the browser. It will connect you to your PI-KVM
This is a very economical way to build a very modern and very fast IP-based KVM without high cost. The software is also provided to you for free. I did not cover more functions in this tutorial, such as VPN, shared network from PI to PC, VNC, etc. If you want to know more functions, please visit
Or join Discord.
Get immediate news, in-depth reviews and useful tips.
Thank you for registering Tom's hardware. You will receive a verification email shortly.
There is a problem. Please refresh the page and try again.
Tom's Hardware is part of an international media group and leading digital publisher Future US Inc.
©Future US, Inc. 15th Floor, 11 West 42nd Street, New York City, New York, New York 10036.